3. Atomia Identity - Installation

3.1. System Requirements

To install Atomia Identity the system must meet following requirements:

  • Microsoft Windows Vista or Microsoft Windows Server 2008 or newer.

  • Microsoft .NET Framework 3.5 SP1.

  • Microsoft SQL Server 2008 (Express)

  • Internet Information Services 7 (IIS 7)

    • Installed Windows, Basic and Anonymous authentication features.

    • ASP, ASP.NET, .NET Extensibility, ISAPI extensions, ISAPI filters features installed.

3.2. Firewall requirements

Identity communicates with Provisioning service, Hosting control panel, Billing control panel and AtomiaAccountApi services. Firewall should allow communications in both ways with servers where those applications/services are installed. Communication is done over http protocol on port 80.

3.3. System and domain accounts requirements

For provisioning services there must be domain account with following rights:

  • full domain rights

  • elevated system privileges

This account will be used for accessing MSSQL server database and IIS7 administration.

3.4. Installation

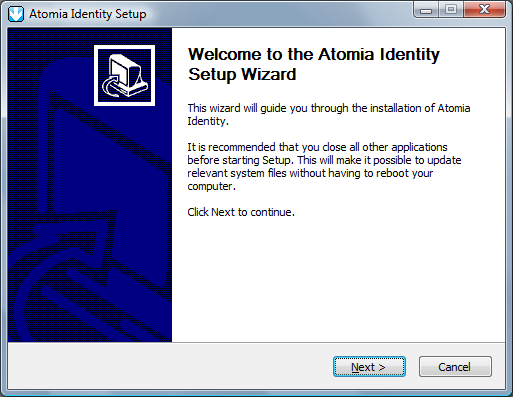
To install Atomia Identity follow this instructions.

  • First step is to download and start AtomiaIdentitySetup.exe application. Window shown on Figure 1 will be shown.

Figure 1: Atomia Identity Setup welcome screen

  • To proceed with installation click the Next button.

  • Window with the license text will be shown. To continue with setup click on the Next button.

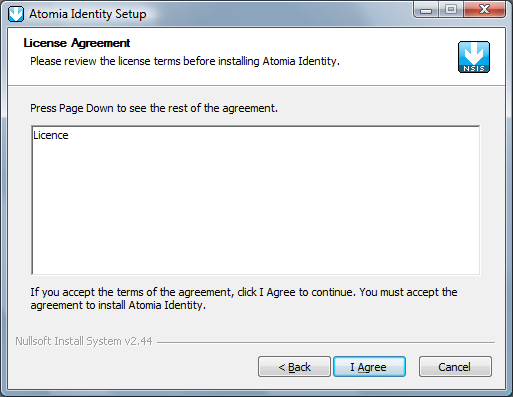
Figure 2: Atomia Identity License Agreement

  • Click Next to proceed.

  • The next step is installation of Microsoft SQL Server Express and databases. Enter the name of the server and choose the type of authentication. Click Next .

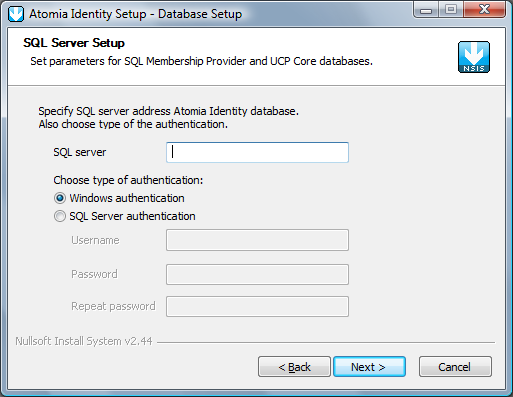
Figure 3: Microsoft SQL Server Express installation

  • In the next step provide an account that will be used to run the Atomia Identity service and click Next to proceed.

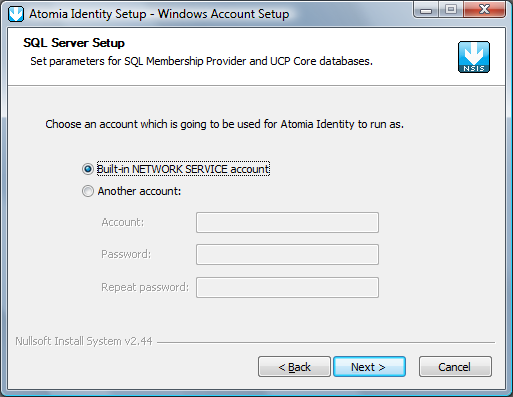
Figure 4: Atomia Identity service account setup

  • Select whether to install the Atomia Identity for current user only or for all users of the computer.

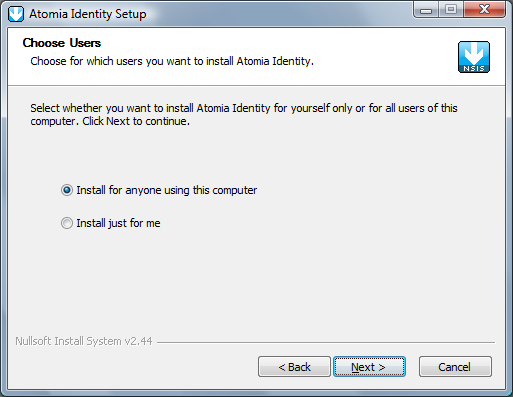
Figure 5: Atomia Identity target user

  • Select the destination folder where the Atomia Identity is going to be installed. Click Next to continue with installation.

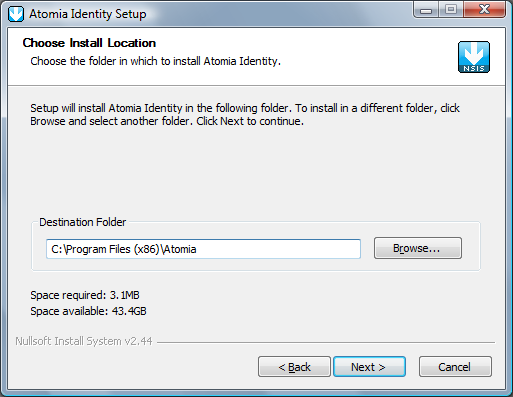
Figure 6: Atomia Identity installation folder

  • Select the Start Menu folder where to install the shortcuts for the Atomia Identity..

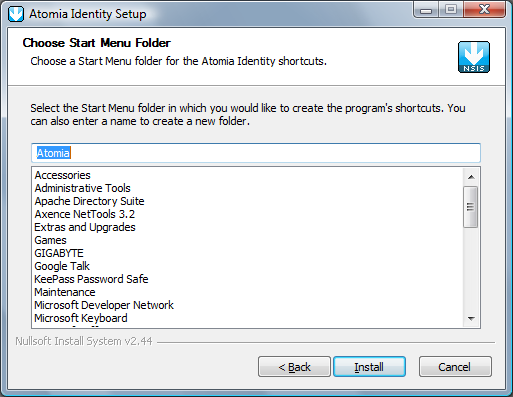
Figure 7: Atomia Identity Start Menu folder

  • Click Next and the installation process begins. The following window will be shown.

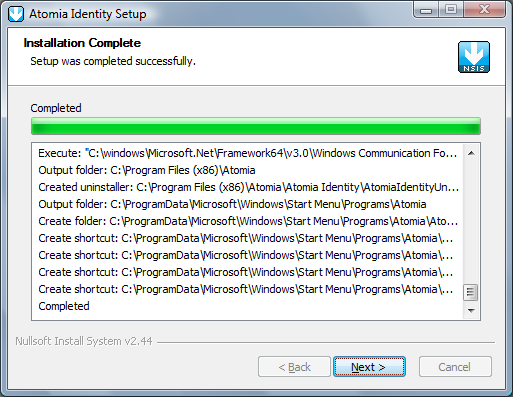
Figure 8: Atomia Identity installation progress

  • Wait until installation is finished. You should be able to see the window as the one shown on Figure 10. Click Next .

Figure 9: Atomia Identity installation is completed

  • The installation procedure ends with the window shown in Figure 10. Click Finish .

Figure 10: Atomia Identity installation is finished

3.5. Installation troubleshooting

3.5.1. Atomia Provisioning separately installed:

If Atomia Provisioning Service is installed separately, then some manual changes must be made to the web.configuration files of Atomia Provisioning and Atomia Identity. Also, some of the certificates must be added from one machine to another.

3.5.1.1. Certificates:
  • From the machine where Atomia Provisioning is installed, take AtomiaProvisioningCer.cer from the installation folder and on the Atomia Identity machine import this certificate (under the Local computer) into the following stores: Personal, Trusted root certificate authorities and Trusted people.

3.5.1.2. Changes to the Atomia Provisioning Web.config file:
  • Change the connection string for the Atomia Indentity databases (AtomiaUserManagement and AtomiaIdentity):

<connectionStrings>
<add name="IdentityProviderConnectionString" connectionString="Data Source=localhost\SQLEXPRESS;Initial Catalog=AtomiaIdentity;Integrated Security=SSPI;" providerName="" />
<add name="UserManagementConectionString" connectionString="Data Source=localhost\SQLEXPRESS;Initial Catalog=AtomiaUserManagement;Integrated Security=True;" providerName="System.Data.SqlClient" />
</connectionStrings>
  • Change certificate thumbprint for the Atomia Indentity certificate.

...
<microsoft.identityModel>
<service>
<issuerNameRegistry type="Microsoft.IdentityModel.Tokens.ConfigurationBasedIssuerNameRegistry, Microsoft.IdentityModel, Version=0.6.1.0, Culture=neutral, PublicKeyToken=31bf3856ad364e35">
<trustedIssuers>
<add name="CN=Atomia Identity" thumbprint="0B1801359CD5F0787E38AF9820544E76B6F9772A" />
</trustedIssuers>
</issuerNameRegistry>
...
3.5.1.3. Changes to the Atomia Test Client app.config file
  • All addresses which point to the location of the AtomiaIdentitySts service, ie "http://localhost/AtomiaIdentityStS/..." should be changed to point to the real location of the Atomia Indeity Sts service.

  • All addresses which point to the Atomia Provisioning service should point to the localhost Atomia provisioning service "http://localhost/AtomiaProvisioning/..."